Blur text in an image
Hide the text in any image
Every line of text gets a bar you can keep or remove.
Free · No sign-up · Photos stay on your device
No photo handy?
Blur text in image: every line of type is proposed as a solid bar by a finder that runs on this device. Check, keep or delete each one.
- Text-line finder that runs on the device with no download
- Solid-fill bars by default, in ink, black, white or the average colour
- Grow every text region by 10% in one press
- Four-corner regions for text photographed at an angle
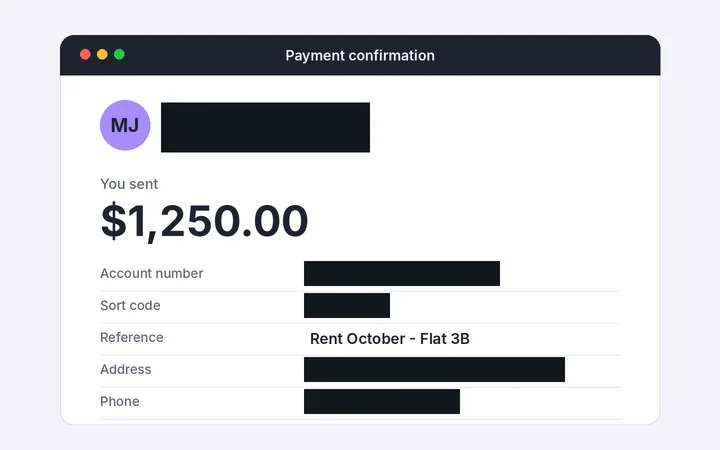
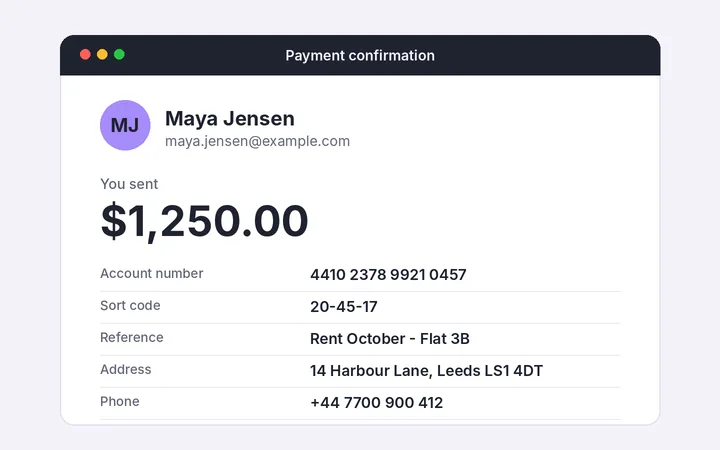
Every line of type in the picture is proposed as a solid bar the moment it opens — signage, labels, a page of a document, a chat. You keep the ones that matter and delete the rest.
A photo of a letter, a shop sign, a parcel label, a chat screenshot. Opens JPG, PNG, WebP, GIF, BMP and ICO.
Whole-photo, background, focus and region blurs, and the three privacy coverings, open with your picture. Privacy mode opens with the solid fill, the only covering here that cannot be run backwards.
Every line, proposed before you ask
Open a picture and the finder has already looked. Each line of type it found arrives as a solid bar in the list under the picture, marked proposed, so the first thing you do is check rather than draw. It works on the picture’s own pixels, on this device: it measures where strokes stand off their ground, groups them into letter-sized pieces, and chains pieces that share a baseline into lines. There is no model to download and nothing leaves the tab.
A proposal is not a promise. Look at every bar, and at every line it did not bar.
When another mode is better
For a screenshot you have just taken, redact a screenshot opens straight from the clipboard and copies the result back out. For faces as well as text, the photo redactor has both finders on one page. If you want the text softened as a look rather than hidden, blur part of an image has the brush and lasso.
Limits, stated plainly
- The finder reads no words, so it cannot tell a card number from a shop name — you decide which lines matter.
- Faint, curved, handwritten and very large lettering is what it misses most.
- A blur or mosaic over text is weaker than it looks; the solid fill is the default for that reason.
- Saving drops every metadata block the file carried, and the receipt reads the saved file back to show it.