The same band, covered three ways
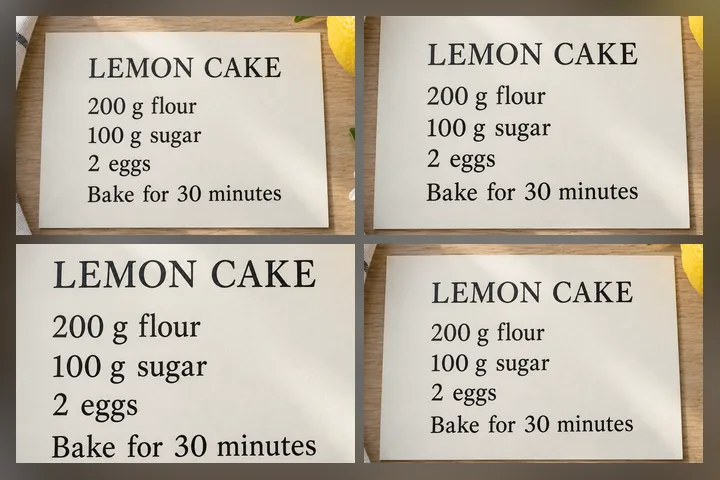
One panel, one region, three coverings, and the verdict under each. Every picture below is drawn by this page when it loads and covered by the same code the tool above runs, so none of it is a screenshot of a build that has since changed. It is a drawn panel rather than a photograph: the coverings are judged against printed characters, and this repository holds no photograph of a real plate or a real face that would be ours to publish.
The second panel is the one this site opens with. It is the least interesting to look at, which is the point: a covering should be visible as a covering, and the two that blend pleasantly into the picture are the two that keep something of what was underneath.
Pick a job to get going
Each one opens the same tool, already pointed at that job.
What this tool is for
There is a moment before you post a photograph where you notice something in it that belongs to somebody else. A stranger’s child at the next table. The number plate of the car behind yours. A house number in a listing photograph. The balance still sitting in the corner of a screenshot you were only trying to show the error message in. This site exists for that moment, and for nothing else.
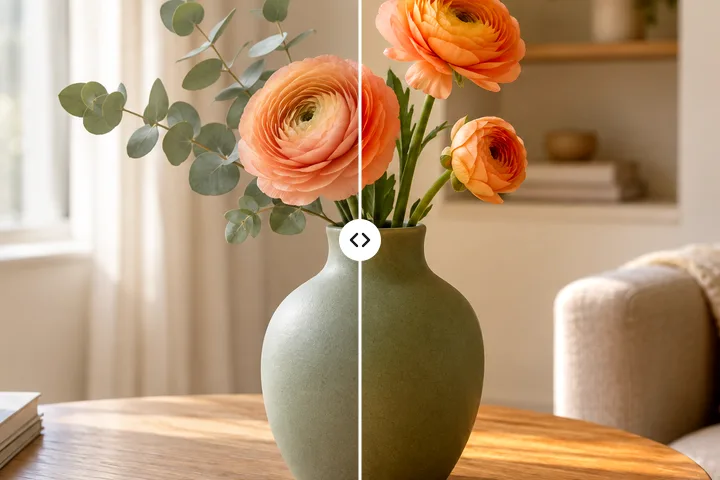
Its privacy mode is arranged around one question — can the thing under that region still be read — and the interface is built to answer it honestly rather than flatteringly. The same workspace also softens on purpose: the whole photograph, the background behind a person, a tilt-shift band, a focus ring or a depth-like fall-off, with motion and zoom blurs for movement. Those modes are for how a picture looks, and the tool never scores them as protection.
The solid fill is the default because it is the only one of the three coverings that leaves nothing behind. Choosing a blur instead is a step down from the safe option, and the tool says so where you choose it rather than in a footnote.
Working through a picture
Open a picture by dropping it in, choosing it, or pasting it — a screenshot that needs covering is usually on your clipboard already, and asking you to save it to disk first would mean asking you to leave an uncovered copy lying around.
- Drag across whatever needs covering. A rectangle by default; an ellipse when the thing is a head, because an ellipse has no corners to advertise where the covering ends.
- Each region keeps its own covering and its own strength. A photographed form often wants a solid bar across a number and something softer over a face in the same frame, and that is two regions rather than two exports.
- Every region can be dragged, resized from any of its eight handles, nudged a pixel at a time with the arrow keys, and removed. Nothing here needs a pointer.
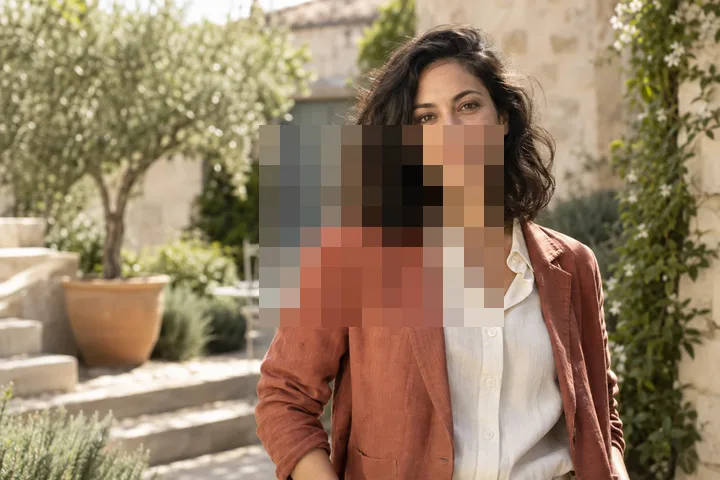
- Press the finder and a proposal appears over every face it can see. Each one is a region like any other — move it, grow it, or delete it if it has found a pattern in a jumper.
- For a look rather than a covering, pick a mode above the picture: Whole, Background or Focus soften the picture around what matters, and Regions blurs any shape, brush stroke or traced outline — feathered, or inverted to blur everything except it.
- Hold the backslash key, or press Original, to see the untouched picture; switch on the peek lens and a circle of the original follows the pointer, so you can check an edge without losing your place.
- Save. The copy is written at the full size of the original, not at the size you were looking at.
That last point is the one worth dwelling on. The preview runs on a reduced copy so the controls stay quick, but a region is stored as a fraction of the picture rather than as a number of pixels, and the export re-runs every one of them against the full-resolution bitmap with the radii and block sizes scaled to match. A rectangle drawn over a plate on a 2,560-pixel working copy covers the same plate on an 8,000-pixel original.
What it will open
JPG, PNG, WebP, GIF, BMP, TIFF and ICO are read directly. HEIC — what an iPhone photographs into by default — is read through a codec that is only fetched when a HEIC actually arrives, so nobody pays for it who does not use it. Files up to 120 MB and pictures up to about 32 megapixels open without ceremony; above that you are offered a lighter working copy, and the offer says plainly that the regions you draw will still land where you put them.
Some honest edges. An animated GIF or WebP saves as a covered first frame, stated on the button. A 16-bit TIFF comes down to 8 bits when the browser decodes it. Saving as JPEG fills anything transparent with white, because JPEG has no transparency, and writes a baseline file rather than a progressive one. Faces much under 20 pixels across are below what the finder can see, and faces turned well away from the camera are found poorly — in both cases the proposals will look like a clean sweep when they are not, which is why they are proposals.
Covered, or actually gone. This tool covers things visibly and on purpose: the result should look like a decision somebody made. If what you want instead is for burned-in text to be found and filled in behind so the picture reads as though it never carried any, imagetextremover.com is doing that job, and the difference between the two is worth being deliberate about.
Questions worth asking first
- Can somebody recover what I covered?
- Not from a solid fill: there is nothing underneath it, because the pixels were replaced rather than hidden. From a mosaic, sometimes — block averages keep the large-scale structure of what was there, and comparing that structure against a set of candidate pictures is a published attack. From a blur, more often than people expect, and most often on short printed strings in a familiar typeface.
- Is the covering part of the file, or something a viewer could switch off?
- Part of the file. The saved copy is drawn from scratch: the picture is composited at full resolution, every region is run against those pixels, and only then is the result encoded. There is no mask channel, no layer and no second copy of the original in the output.
- I wanted the people behind my subject softened, not covered.
- Use the Background mode. It keeps a subject sharp and softens everything else: place the oval over your subject by hand, or let the person finder draw the subject on this device, then move the edge with the Keep sharp and Blur more brushes. That is a look rather than a covering, and the tool keeps the two apart — a softened background is never counted as protection.
- Does this remove the location the photograph was taken?
- Yes, as a side effect of saving. The copy is re-encoded from a canvas, and a canvas has no EXIF block to write, so the coordinates, the capture time and the camera model do not survive the trip. The orientation flag does not survive either — it has already been applied to the pixels, so the picture cannot arrive sideways somewhere else.
- Why is there no automatic number plate finder?
- Because nobody on this project has downloaded, timed and licence-checked a plate detector that runs in a browser. Every figure on this site about a model's size or speed was read off a file that was actually served. Shipping an unmeasured model to make a feature list look finished is exactly the thing that makes the rest of the numbers untrustworthy.
- What happens to an animated GIF?
- The first frame is covered and saved as a still. The other frames are not written, and the button says so before you press it — an animation whose later frames show the same face again would be a dangerous thing to discard quietly.
Two of those answers have a longer version: what it actually takes to read blurred text and which covering to choose for which subject.